Friday, September 12, 2014

JANE ~new Bo Bunny “Madeleine” collection~

The brand new Bo Bunny “Madeleine” collection is absolutely stunning!  Such beautiful mints, pinks, golden yellows & even burgundy!  As soon as it arrived I knew I had to scrap my beautiful Mom!

Although no date is on this portrait, I believe it is 1951 because she has on wedding rings, plus her hair style is indicative of how she wore it around this time.  I decided to do something a little different and colorize her lips and eyes.  Mom had dark brown eyes and usually wore brownish-red lipstick.  I am quite excited how this turned out:


Mom loved pretty things, as well as tasteful bling, so I loaded up this layout with pretty flowers, lace and a little bit of bling.  She also loved birds, so I cut out the pink oval frame with the birds on it from the collection and positioned it to overlap onto her photo.  Also from the collection, I chose several embellishments: chipboard flag, brad & piece of the film sticker, all depicting birds.  I named this layout in my dear mother's name: Jane.
She was such a beautiful lady!  And she always had style! 

The title letters are Pink Paislee MIST-a-bles alpha chipboard that was sprayed with Lindy’s Stamp Gang Starburst “Salt Water Taffy”.  It is the softest pink ever!  Then I decorated the letters with beautiful Wild Orchid Crafts roses.

This photo also shows the beautiful damask stencil using modeling paste.

These baby pink lilies from Wild Orchid Crafts were sprayed with LSG Glitz Spritz “Scintillating Silver” to give them a shimmery shine.  This is by far my most favorite glitz spritz that Lindy’s has!  I use it all the time. Good thing I have a new bottle waiting to be used because I’m almost out : )  I added some white resin mini lilies from the wedding section at Hobby Lobby.  Check out the shimmer!
 
I clustered some beautiful Wild Orchid Crafts mulberry flowers in white, mint, yellow & pink tones.  Some of the flowers are sprayed with the LSG Glitz Spritz silver.  To the Michael’s teal colored clothespin flower, I added pink diamond dust and some bling.
 
Thanks again for stopping by and have a wonderful day!  Lisa : )
 
Products Used:
Bo Bunny collection “Madeleine”
    -papers – “Madeleine”, “Allure”, “Grace”
    -film strip sticker
    -chipboard tag
    -brad
Pink Paislee (MIST)-A-BLES chipboard alpha for the title
    -sprayed with LSG Starburst color “Salt Water Taffy”
TCW 6x6 stencil “Mini Damask”
Flowers - Wild Orchid Crafts & Michael’s
Lindy's Stamp Gang - Glitz Spritz color “Scintillating Silver”
Recollections - bird nest
Want2Scrap – baby bling in blue-green & pink colors


Friday, September 5, 2014

Louisiana Gentlemen

Hi everyone!  Thanks for the visit to my scrapbook blog.
I created a masculine LO with a photo that I estimate was taken in the early 1900’s. These gentlemen appear to have on their ‘Sunday best’ – suit, white shirt, tie and a hat.
The good looking guy on the right is my Great Uncle Bruce Hebert (my Mom’s uncle/her mother’s brother)! You can tell he must have had blue eyes. 
For those not familiar with southern pronunciations, Hebert sounds like "a bear".

I’ve always LOVED how everyone back in the early days of photographing would have such stiff poses.  Perhaps they were instructed to be super still so the photo would come out clear.  Also, the faces always seem to be serious instead of relaxed and smiling.   I really LOVE vintage photos like this!  They are just too cool!  So awesome especially when it’s your own family!
 

The Bo Bunny ‘Weekend Market’ papers were perfect for this masculine LO – in particular, the “Antique” paper with all the card file drawers.  I finally got the nerve to try a LO on this paper....after gaining inspiration from a wonderful lady, Nancy Smith.  She is an awesome artist and has a very cool blog at http://shelbydoodledesigns.blogspot.com/.  Check it out!
I’ll say it once again and a hundred more times that using Lindy’s StampGang sprays really enhance your layouts. I sprayed the papers and some flowers in this LO.  : )    I really enjoy using them.  I also used black gesso to make the splatters seen all over the photo and papers. 
I learned this technique by contacting Pascale B - France.  She is such a huge inspiration to me.  Visit her totally awesome blog! http://pbhobby.blogspot.com/
Using distressed inks helped the photo & papers look even more vintage!
A list of all the embellishments I used is listed below. 

I had lots of fun creating this LO - adding more and more elements as I progressed.  I love digging through my stash...and my dear mother's buttons...to see what will fit with the LO theme.
Thank you so much for stopping by!  Have a wonderfully great day!  Lisa : )


This close up shows just what difference Lindy's sprays can make in your project!
Side by side proof of the same flower by Prima - WOW!
 
Had to show a close up of the photo.  It's so cool!

Products Used:

Scanned photo
    -glued to chipboard & Fiskars large rounder punch used
Bo Bunny Weekend Market collection – “Antique” (main LO page)
Bo Bunny Double Dot Designs – “Chiffon Vintage” (dotted paper underneath)
    -Lindy’s Starburst sprays “Edelweiss Moss Green” & “Canna Lily Burnt Orange”
    -Bo Bunny Stamps: Distressed Textures & Stained Textures
    -Black Gesso & water (splashed dots)
Echo Park Paper Co. Times & Seasons collection – “Journaling Cards” (under the photo) & “Date to Remember” (on the side)
    -EK Success “Round Binding Edge” punch
Spellbinders “Antique Tags One” die – Title
    -lace heavily sprayed with Lindy’s Moon Shadow Mist ‘Van Dyke Sepia’
Inks: Chestnut pigment ink by Recollections; Vintage Photo & Antique Linen distress inks by Tim Holtz
    -inks used on edges of the papers and photo
Michael’s $1 bin – Fleur de Lis wood mounted stamp
    -Lindy’s embossing powder “Hollyberry Red Gold”
Karen Foster Design metal license plate “Louisiana”
Embellishments – Bead Landing (Michael’s jewelry section)-hinges, rulers, gears, domino; The Paper Studio Spare Parts-metal arrow & ‘keys’ washi tape; Momenta bottle cap; large red button tucked behind the journaling card paper that I found in Mom's sewing stash
Hobby Lobby - weaved ribbons
Prima ‘Engraver’ collection (large key print flower)
    -sprayed with Lindy’s Starburst sprays “Edelweiss Moss Green” & “Canna Lily Burnt Orange”
    -Spellbinders “Foliage” die
The Paper Studio flowers – green & red
    -red one spritzed with Lindy’s Starburst “Canna Lily Burnt Orange”
    -sewed in the center of the flower a very cool metal button from my dear mother’s button stash
Prima wire thread – ink black


Saturday, August 23, 2014

Hibiscus

Hi there!  Thank you so much visiting my blog today!

In the winter of 2013, we had a few days of "freeze" way down south here near the Gulf of Mexico.  I really thought many of my plants had died but was pleasantly surprised to see that my Dad's hibiscus (Dad passed away in 2011 and I brought all of his potted flowers home with me) survived! These are a couple of photos I took on 8/2/14. I know that Dad would be so happy and proud that his flowers are being cared for and enjoyed. I am scrapbooking flowers that I have grown through the years, so I always try to keep these pages fairly 'simple'. For me, it is about the photos after all - to reminisce about the flowers I have been able to grow over the years.
I loved the colors in the DCWV collection "The Coral Couture" so I used nothing but these papers from this collection to do this LO. I stenciled some of the main page using homemade texture paste and after placing the photos decided to add flat back aqua colored pearls (12mm & 16mm sizes) from Wild Orchid Crafts. The stencil is Heidi Swapp 12x12 Circle Lattice. I recently saw a wonderful LO that had paper rosettes on it and that inspired me to make some for this LO. It has been a very long time since I've made them, so it was very enjoyable for me - especially since the gold colored buttons came from my dear mother's sewing stash. I used decorative 'wavy' design scissors to enhance two side edges of the LO and one of the photos background page.
I absolutely LOVE the alpha dies I have by Life Style Crafts named "Espresso" - so I made the title from these.
I hope you enjoyed viewing this layout just as much as I enjoyed making it!
Have a truly wonderful day!  Lisa :)

Products used:
DCWV "The Coral Couture" collection & cardstock collection
    -Heidi Swapp 12x12 Stencil "Circle Lattice"
Life Style Crafts Alpha Die “Espresso” (for the title)
Wild Orchid Crafts - Flat back Aqua color pearls  (12mm & 16mm sizes)
Deco scissors “wavy” design
“The Paper Studio” brad
Buttons from my dear mother’s sewing stash
ColorBox pigment inks used: Aqua, Burnt Sienna, Butterscotch, Pink Sky

Tuesday, August 19, 2014

Swallowtail

Thanks for coming to my blog today!  On August 16th, I looked out my kitchen windows into my front garden and THERE IT WAS - a gorgeous swallowtail butterfly flitting around in my flowers!  I ran like a ‘crazy’ woman with my arms up in the air to get my camera, while begging God to make it stay there.  My pets were all looking at me with ‘concern’ – LOL!   Luckily my prayer was answered!  I was able to get a couple of pretty good close ups of this beautiful creature even though it was flying around so fast from flower to flower!  HOLY MOLY WOW!  This was such an exciting moment for me because it’s rare to get a glimpse of beautiful butterflies like this where I live.  I guesstimate it measured 3-1/2” from its head to the tip of the tail piece on the hind wing.  It flew away with the same grace of a large wingspan bird.  Awesome! 

The Kaisercraft paper I chose to create this layout was such a close color match with the golden color in the butterfly!    I decided to ‘dress up’ the paper a little bit by using stick on black rhinestones in some of the diamond shapes and also emboss a harlequin design where the title would be placed.  I also embossed a diamond design on cardstock to match the fuchsia color of the flowers in the photos.  If you look closely, there is blue color on the hind wings of this beautiful butterfly, so I used blue paper to frame the large photo.

Here is how my layout turned out:


This close up shows the embossed harlequin design using 'kaleidoscope' powder. 
 
 
Now for the WOWZA! 
I sprayed two white Prima zipper flowers with Lindy's Starbursts. 
I decided to use two different colors on each flower. 
I fully sprayed and dried the large flower; then I sprayed right into the center and let the beautiful blue color spray mix a bit with the gorgeous green.  WOW!  STUNNING!
On the smaller flower I covered up the flower petals when spraying the center so that the two colors would not mix together - happy! The shimmer in these sprays are just phenomenal and I'm always so pleased with the outcome!

 
Thanks for stopping by and have a wonderful day!  Lisa : )
 
 
Products used:

Kaisercraft ‘Porcelain Rose Collection’ papers (main page & blue piece under large photo)
    -Martha Stewart “Stained Glass Pattern” punch all over the page
Recollections cardstock color: Fuchsia
    -Sizzix Textured Impressions embossing folder “Diamond”
TCW (The Crafter’s Workshop) 6x6 Template “mini Harlequin”
    -heat embossed with Stampendous! “Kaleidoscope”
Webster’s Pages alpha stickers “In Love” for the title
    -Michael’s brand ‘clear’ glitter glue (more like a kaleidoscope effect)
Want2Scrap stick on black baby bling rhinestones (to make the diamond shapes)
Prima zipper flowers “Queen Mary White”
    -Recollections bling brads added to the centers
    -large flower used Lindy’s Starbursts “Lucky Shamrock Green” (“Bachelor Button Blue” in the center)
    -small flower used Lindy’s Starbursts “Glory of the Seas Gold” (“Lucky ShamrockGreen” in the center)
Other flowers: Recollections, Prima & Wild Orchid Crafts


Saturday, August 16, 2014

1920 ~ Lindy's sprays

Hi everyone!  I made another layout featuring the fascinating and beautiful Evelyn Nesbit Thaw (early 1900’s Super model/actress).  It's always so enjoyable scrapping her!  You can see below in previous posts that I have scrapped her many times before.  Born in 1884, she is 35 years old in the photo I picked for this layout.  I didn’t want to over embellish and possibly take away from this striking photo, but I did want to incorporate some 1920’s vintage elements.   I made an embellishment of a lady with the typical 1920’s hair style who is smoking with a feminine cigarette holder (I made the 'smoke' with cotton).  I also added a pearl necklace tied in a knot and the ever popular t-strap shoes of the day. 
I had so much fun making this LO using several processes & techniques including embossing powder painting; microbeads; stenciling; inking; recoloring with Lindy’s gorgeous sprays and creating a rusted look with Distress Stickles.
Thanks for stopping by and hope you have a great day!  Lisa :)
 
 
An embellishment, such as a piece of chipboard, can become so interesting by using the technique called "embossing powder painting" (using more than one embossing color on a single piece).   I've used this technique many times in the past when scrapping, but only recently found out what it is called. 
I'm quite pleased with how the cotton 'smoke' turned out.  :) 
 
 
Photos can never truly capture the gorgeous shimmery colors in the Lindy's Stamp Gang sprays.  I've said it many times on other posts on scrapbook.com how Lindy's sprays can really put the 'WOW' in a layout!  I am a huge fan and love their products. 
Hope you try some in your layouts - you will not be disappointed!
 
Products used:
 

Kaisercraft ‘Sweet Nothings Collection’ – “With Love” (main page) and “Devoted” (under the photo)
    -Tim Holtz Distress Ink “Vintage Photo” on the edges
    -Martha Stewart “French Scroll” punch
Kaisercraft alpha-numeric chipboard “Alpha 1” for the title
    -gesso coated
    -heat embossed with Ranger Antiquities “Verdigris”
    -Tim Holtz Distress Stickles “Tea Dye”
The Crafters Workshop 12 x 12 Template “Brocade”
    -stenciled with texture paste
    -inked on and around the dried stencil
       *Tim Holtz Distress inks “Antique Linen” and “Vintage Photo” using the mini round blending tool
       *ColorBox pigment inks “Teal” and “Burnt Sienna”
Spellbinder’s Nestaboard “Fleur de Lis Rectangles”
    -gesso coated
    -heat embossed with Ranger Antiquities “Verdigris” and Recollections “Carnelian”
    -Tim Holtz Distress Stickles “Tea Dye”
    -1920’s lady smoking with a cigarette holder
       *cotton was used to make the ‘smoke’
Pink lace recolored:
    -heavy spray of Lindy’s Starburst “Jack in the Pulpit Teal”
       *toned down the gorgeous teal with a heavy spray of Lindy’s Starburst “Glory of the Seas Gold”
The Dusty Attic “Flourish #8”
    -gesso coated
    -acrylic painted with a mixture of cream and tan colors
    -filled the ‘fan’ with Recollections microbeads “Antique Copper”
       *topped with Glossy Accents
    -pigment inked with ColorBox “Creamy Brown”
Recollections vinyl-look flower
    -glued a circle punched pic of 1920’s t-strap shoes to center of flower
    -Wild Orchid Crafts green skeleton leaves recolored:
       *heavy spray of Lindy’s Moon Shadow Mist “Gossamer Gold” then topped with Lindy’s Starburst
Washi Tape
Ribbon Pearls
Momenta metal corner flourish recolored with Tim Holtz “Copper Mixative” alcohol ink
K&Company “Brenda Walton” butterfly
    -handmade antennae added

Monday, August 11, 2014

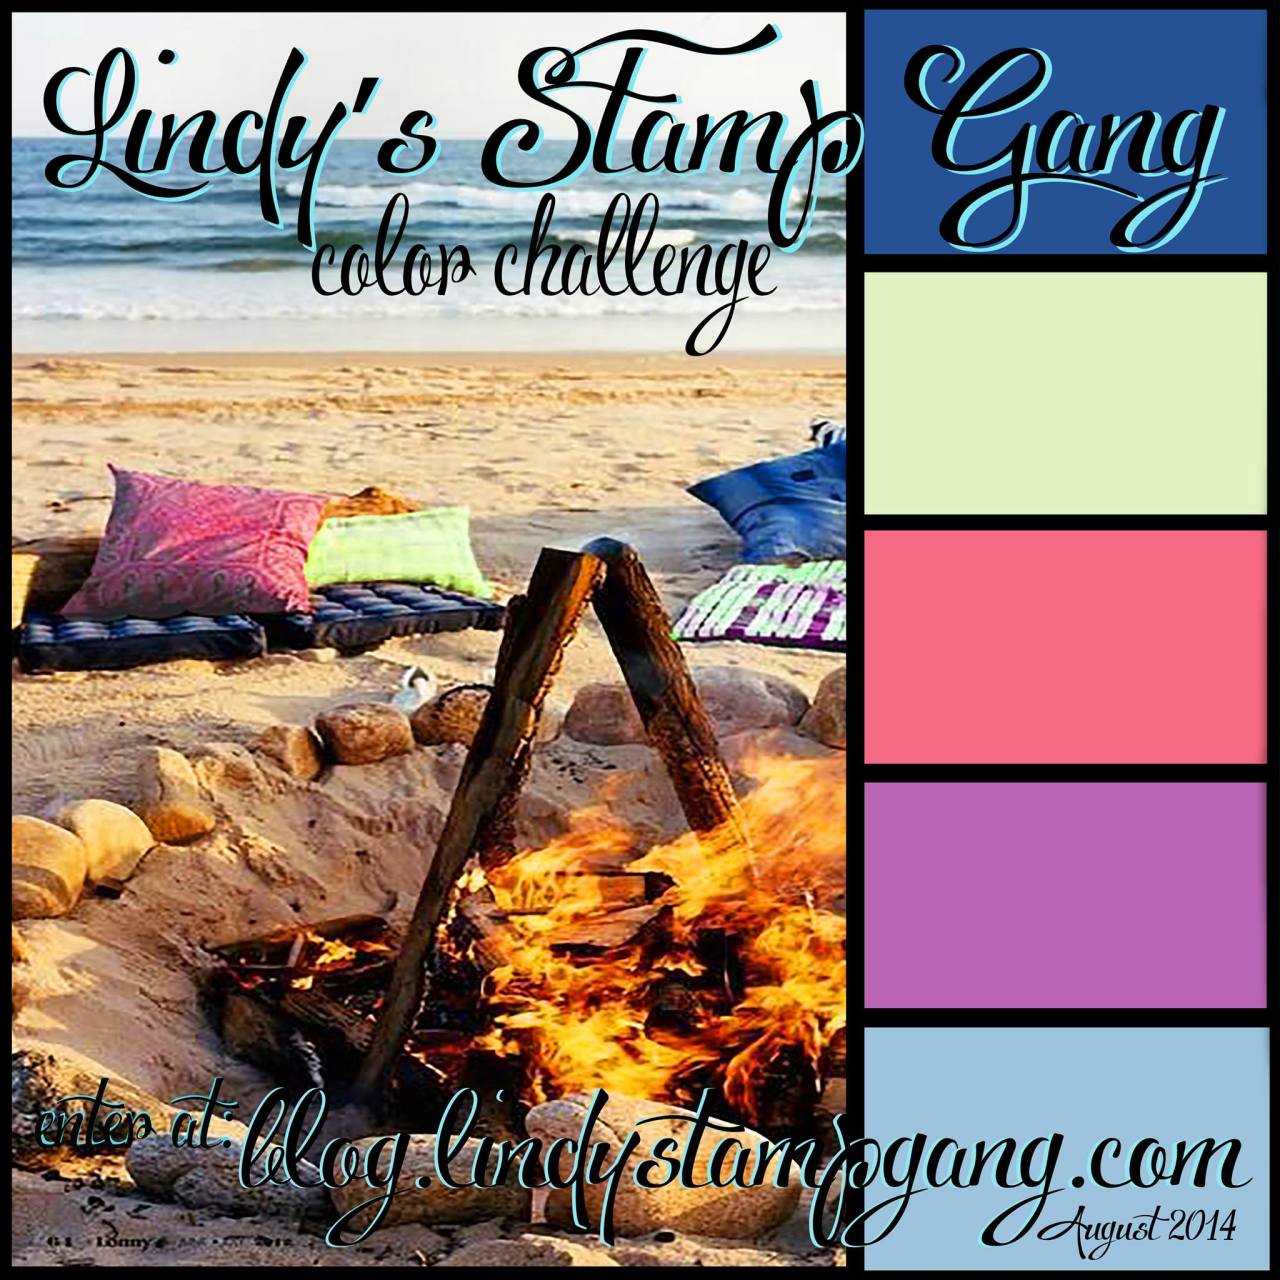
If nature's beauty....Lindy's Stamp Gang August 2014 Color Challenge

Look at the stunning colors in Lindy's August 2014 Color Challenge! 
Visit their blog for details.... 
http://blog.lindystampgang.com/color-challenge-info/
 
I am so excited that I used every color Starburst Spray in this month's color challenge!  They coordinated perfectly with the photo I chose.   Along with the challenge colors listed below, I also added another Lindy's Starburst Spray "Yellow Rose of Texas" in my layout.
 
 
I also used the following embossing powders that Lindy's chose for this color challenge:
 
 
The full title of my layout is:
 'If nature's beauty on Earth is this astounding ~ Imagine what awaits us in Heaven'.   These were the words that came in my mind when I saw this breathtaking photo.

Using Lindy's Starbursts, I first spot sprayed (not blending together too much) white textured cardstock.  I achieved the look I wanted...each color separate in its own area.  I wanted each of these beautiful colors to individually stand out.
Then I die cut some butterflies; embossed them; then added stick-on pearls & bling for decoration; made the antennae and used foam squares to raise them off the page. 

 
 White flowers were sprayed with Lindy's Starbursts "Sweet Violet Purple Teal",
"Whale Watch Blue", "Hydrangea Blue" and "Maidenhair Fern Green".  Check out the shimmer in these sprays!  Just gorgeous! 
 
Lindy's Starburst spray "Yellow Rose of Texas" is such a stunning yellow! 


Thanks so much for stopping by!  Have a wonderful day!  Lisa : )
 
 
Products Used:
 
Recollections (Michael's) White linen textured cardstock
    -Lindy's Starburst sprays (listed above)
Recollections (Michael's) Navy mulberry crinkled cardstock
    -Martha Stewart circle punch "Floral Web"
Sizzix 'Tim Holtz Alterations Movers & Shapers' - "Mini Butterflies Set" die
    -Die cut using chipboard
    -Gesso coated
    -Heat embossed with Lindy's powders (listed above)
Flowers:  Prima "Queen Mary White" zipper flowers
               Prima "Frost Canson II"
Recollections (Michael's) Blue iridescent stick-on flat back rhinestones
ColorBox pigment ink "Cyan" (just on the edge of the layout)